Most school safety problems announce themselves loudly. Door finger injuries do the opposite. They happen in a blink, usually during a transition, and they leave everyone asking how something so ordinary could cause so much pain?
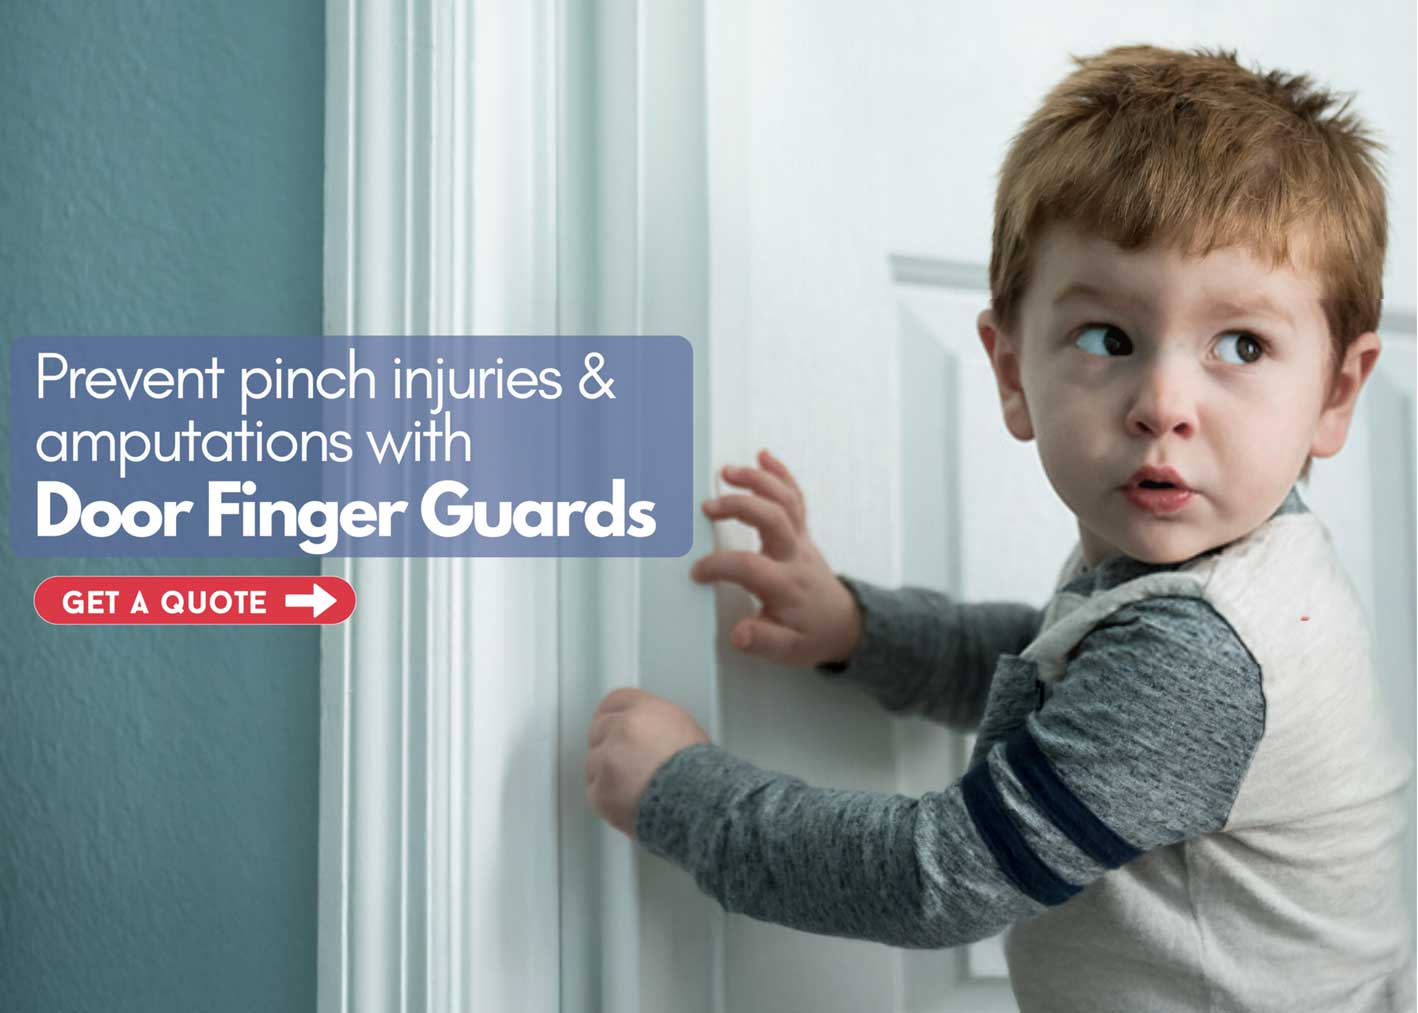
It is not a mystery. Kids’ fingertips are frequently smashed, often by getting caught in closing doors, according to the American Academy of Pediatrics. And research on door crush injuries shows the hinge side is a repeat offender. One study shows that fingers were trapped on the hinge side in 57 percent of cases.
The fix is not complicated, but the order matters. Schools get the best results when they protect the doors that create the most risk first, then expand protection across the building based on traffic, door type, and who uses the space.
This checklist is designed to help US schools prioritize quickly.
Step 1: Start with the doors most likely to hurt someone
A school does not need to “solve doors” everywhere on day one. It needs to identify the doors that combine high traffic with high pinch-point risk.
The top high-risk doors to prioritize
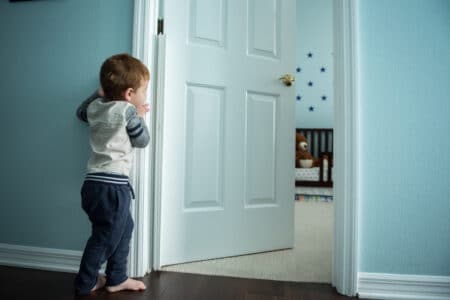
1) Classroom doors (especially for younger grades): Classroom doors see heavy use during arrival, passing periods, specials, and dismissal. Younger students are more likely to trail hands along frames, hold doors for friends, or cluster at thresholds.
2) Bathroom entry doors and stall doors: Bathrooms are high-frequency, low-supervision spaces. Doors are used rapidly, often by students moving in groups.
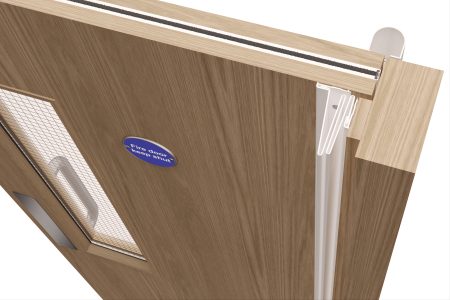
3) Fire doors and heavy corridor doors with closers: These doors can close quickly and with force. They are also often self-closing for life safety reasons. The combination of speed, weight, and repeated use makes them a priority from an injury standpoint.
4) Doors to cafeterias, gyms, and multipurpose rooms: Peak traffic, tight timing, and crowd movement are the perfect conditions for fingers to end up near hinge gaps.
5) Exterior doors to playgrounds and courtyards: Recess is a transition with energy. Doors get pushed, pulled, and occasionally slammed. These doors are commonly heavier and more weather-sealed, which can increase closing force.
6) Doors into special education rooms, sensory rooms, and support spaces: Transitions can be dysregulating for some students. Relying on verbal reminders is not a reliable safety strategy when attention and stress levels vary.
7) Any door with a history of a near-miss or injury: Near-misses are free warnings. If the school has already had an incident at a particular doorway, that door belongs on the priority list even if it is not high traffic.
Step 2: Use a fast risk score so the school knows what to protect first
A simple score helps schools avoid guessing.
For each door, score 0 to 3 on each factor:
- Traffic during transitions (0 low, 3 constant surge)
- Door force (0 light, 3 heavy or self-closing)
- Population risk (0 older students only, 3 younger or high-support use)
- Pinch-point exposure (0 restricted access, 3 students routinely near hinge side)
- Incident history (0 none, 3 repeated near-misses or prior injury)
Add the scores. Start with the highest totals.
Step 3: Check the hinge side first, not the latch side
Many people assume the danger is where the door latches. The hinge side is often worse because the gap collapses rapidly.
A practical checkpoint: if a student can place fingers into the hinge gap while the door is open, the hazard exists. During crowded transitions, that’s enough.
Step 4: Fix “slam conditions” that increase severity
Even with pinch-point protection, schools should reduce the chance a door closes violently.
Quick facility checks that pay off:
- Door closing speed: doors should not snap shut
- Latching issues: misaligned latches encourage slamming to make the door catch
- Loose hinges: shifting doors change gaps and increase pinch risk
- Door stops and hold-opens: use only where appropriate and code-compliant
Step 5: Treat fire doors as a special category
Fire doors are not optional, and they are not “just another door.” They are part of a rated assembly designed to slow fire and smoke. NFPA guidance notes that fire doors must be inspected and tested after installation and then at least annually.
For schools, this creates a practical rule: Any safety upgrade on a fire door should be selected and installed in a way that does not compromise the fire door assembly’s required function (i.e., self-closing, latching, clearances, and labeling). Work with the school’s facilities lead, and with the local authority having jurisdiction when needed.
Step 6: Choose controls that work during the exact moments supervision is weakest
Door injuries spike during transitions because the building is moving. The best interventions are passive. They do not require a teacher to catch every risky moment.
High-impact controls (in priority order)
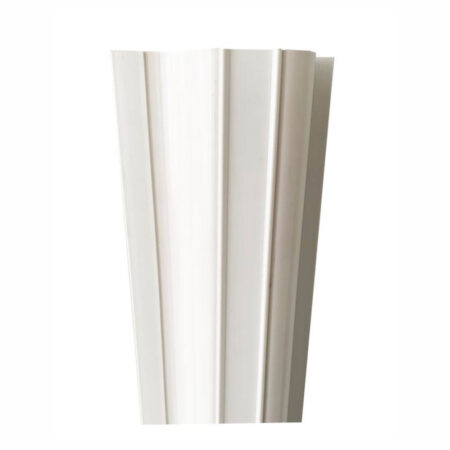
1) Hinge-side finger protection: This is the core prevention layer for finger trapping. It reduces access to the hinge gap where fingers are often caught.
2) Door closer adjustment and maintenance: Slower, controlled closing reduces pinch severity and reduces the chance of slam injuries.
3) Flow control at the worst doorways: This does not require more staff, just smarter placement during peak movement. A staff member positioned to manage the crowd at one problem doorway can reduce clustering at the jamb.
4) A simple student routine that is easy to repeat: One rule is often enough: no hands near the hinge side, and only one person holds the door from the safe side.
Step 7: Run the checklist in a realistic order
Schools get better outcomes when they move in phases.
A practical rollout plan
Phase 1 (Week 1): Identify and protect the top 10 doors: Focus on the highest risk list: classrooms for younger grades, bathrooms, heavy corridor doors, and any door with history.
Phase 2 (Weeks 2 to 4): Expand to common transition corridors and shared spaces: Cafeteria, gym, playground access, main stairwell corridors.
Phase 3 (Ongoing): Maintenance and annual review: Re-score doors after schedule changes, room moves, or renovations.
Step 8: What “done” looks like
A school does not need perfection. It needs a defensible, repeatable safety approach.
A strong end state looks like this:
- High-risk doors are identified and documented
- Hinge-side pinch points on priority doors are protected
- Door closers are adjusted and maintained to reduce slamming
- Fire doors remain compliant and are inspected as required
- Staff know which doorways are highest risk during transitions
- Near-misses are logged and used to prioritize the next fixes
Once the school prioritizes correctly and installs passive pinch-point protection where it matters most, it usually sees results quickly: fewer incidents, calmer transitions, and one less “ordinary” hazard waiting to become a major event.