Don’t audit the building when nothing is happening
A school door can work perfectly from a facilities perspective and still be an accident waiting to happen.
It may open, close and latch exactly as intended. Yet if children crowd beside an exposed hinge gap or staff have to slam it to make the latch catch, the real-world risk is already there.
That’s why a school door safety audit must examine more than just the hardware. It should look at the door, the people using it, and the moments when they come together. The aim is to identify the doors most likely to cause a serious finger injury before a near miss becomes an emergency.
This guide is not a substitute for advice from qualified facilities professionals, fire-door inspectors, accessibility specialists, or local code officials. It does, however, provide a practical starting point for a school-wide review.
Don’t audit the building when nothing is happening
The easiest time to inspect a school is after students have gone home. It’s also when some of the biggest risks disappear from view.
A quiet classroom door possibly looks harmless at 4 p.m. During arrival, it might have 20 children moving around it while one adult greets families and manages the line. A bathroom door that works smoothly during an inspection may be pushed and pulled repeatedly at lunchtime.
Start with a walkthrough, but return during arrival, class changes, lunch, recess, and dismissal. Do students gather beside the frame, hold the door from the hinge side or push it harder because it doesn’t latch properly?
The audit should reflect the busiest version of the doorway, not its best-behaved moment.
Build a complete door inventory
Before scoring risks, create a basic list of the doors students can access. Include more than classrooms. Bathrooms, cafeteria entrances, gym doors, playground exits, stairwell doors, sensory rooms, multipurpose spaces, gates, Dutch doors, and staff areas entered by students all contain pinch points.
This inventory also prevents a common mistake: fixing the door involved in a complaint while overlooking an identical one nearby. Give every door an identifier, such as “Building A, Room 104, corridor side.” Record its location, type, material, size, whether it self-closes, and whether it may be fire-rated. Photograph both sides while it’s open and closed.
Fingersafe USA’s door safety guidance highlights classrooms, bathrooms, entrances, and playground doors among the areas seriously worth examining closely.
Check every accessible hinge gap
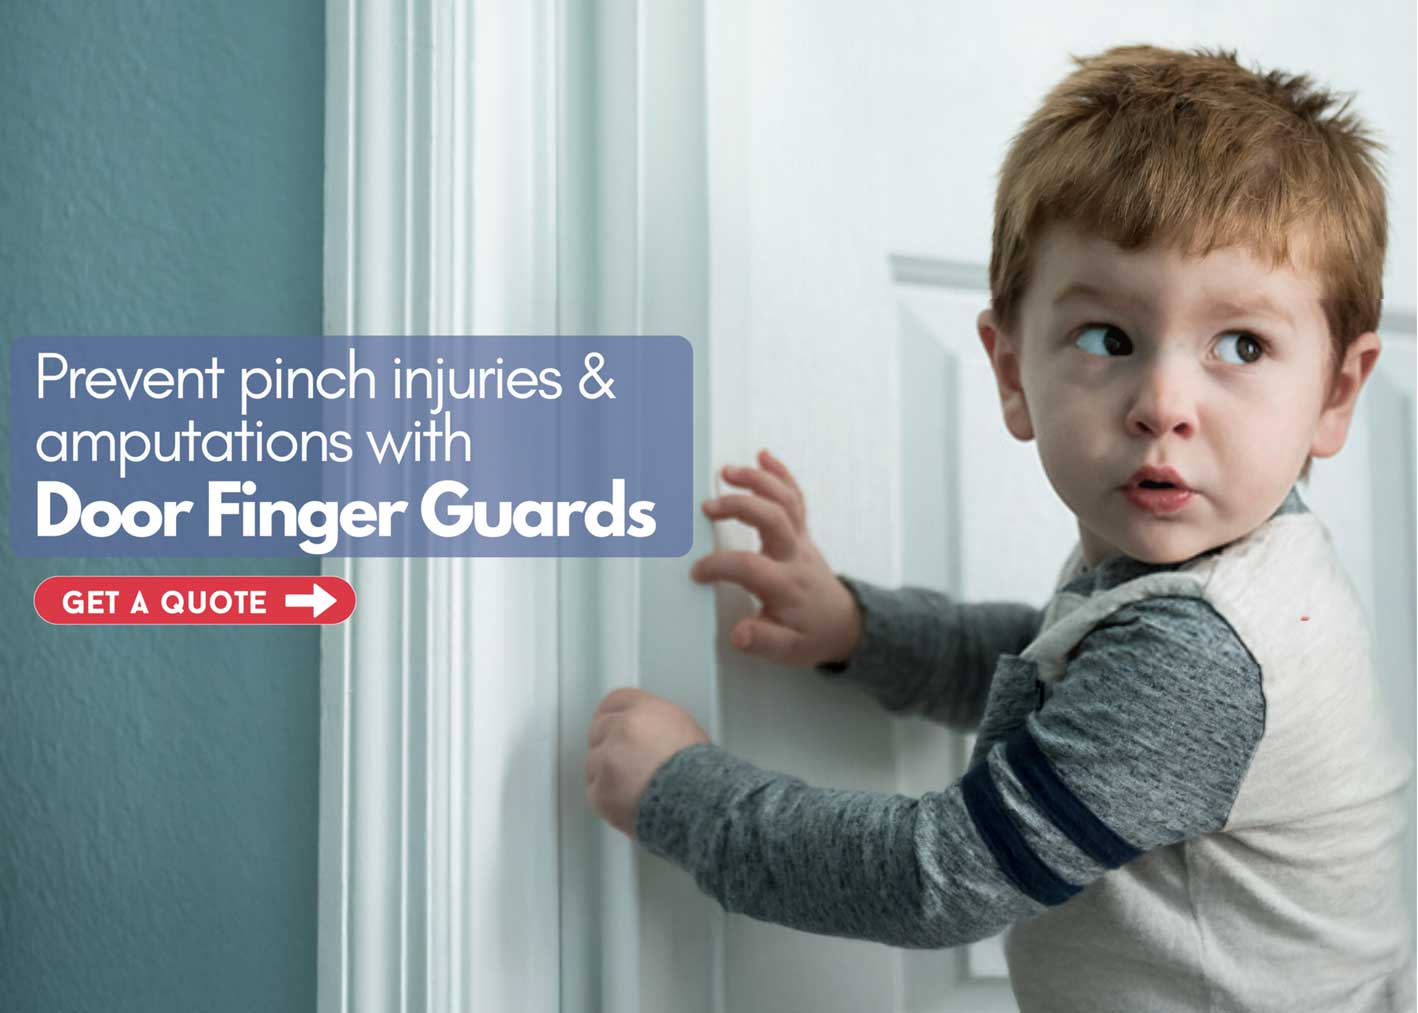
Many people look first at the latch edge, where a closing door visibly meets the frame. That edge can certainly injure fingers, but the hinge side is easier to overlook and can be especially dangerous.
Open the door fully and examine both sides of the hinged end. Can a child reach the gap between the door and frame? Is it accessible from the direction students approach? Are students likely to lean on the frame or hold the door there?
Don’t assume protecting one side covers the other. The push and pull sides create different exposed areas, and both may be reachable. Fingersafe USA’s installation guide explains how to identify which side needs protection.
If a guard is already installed, check that it covers the gap throughout the door’s range, remains secure and shows no cracks, separation, or excessive wear.
Test how the door moves
Next, open and close the door several times under normal conditions. You’re looking for predictable, controlled movement.
A higher-risk door may:
- Slam or snap shut at the end of its closing cycle
- Accelerate unexpectedly
- Swing in a draft, or because of pressure changes
- Need force to open or close
- Stop, stick, or rebound
- Fail to latch unless someone shoves it
- Wobble because of loose or worn hinges
Listen as well as look. A bang can signal force, misalignment, or a closer that needs attention.
Accessible doors have specific requirements. Current U.S. Access Board standards address hardware, closing speed, and opening force. Closers on covered doors must generally take at least five seconds to move from 90 degrees open to 12 degrees from the latch, although exceptions and separate rules apply. Measurements and adjustments should be handled by someone who understands the applicable standards.
Inspect the whole doorway, not only the door
Sometimes the hardware is only part of the problem. Look at the space around it.
Are coat hooks, storage bins, or furniture pushing children toward the hinge? Do floor markings create a line beside the frame? Does a vision panel allow people to see someone approaching from the other side? Is the threshold a trip hazard? Could a protruding panic bar or damaged handle create another pinch or impact point?
Consider traffic flow too. A doorway used in both directions at once creates more hesitation and crowding, especially beside a water fountain, cubby area, or activity station.
Moving furniture, changing where students line up, or repositioning supervision can reduce crowding. These changes shouldn’t replace physical hinge protection where a pinch point remains accessible.
Consider who uses the door
Risk isn’t determined by the door alone. A heavy, self-closing door used only by trained staff has a different profile from the same door serving a preschool classroom.
Raise the priority for doors used by younger children, students with limited danger awareness, or anyone with mobility, coordination, or communication needs. The environment should protect the people who actually use it.
Passive controls don’t depend on perfect behavior, constant reminders, or an adult seeing every hand near every hinge. Fingersafe USA’s guide to door safety for neurodivergent and special needs children explains why that matters.
Treat fire doors as a separate category
Fire doors are often heavy and self-closing, making them a priority for finger safety. They’re also life-safety equipment, so they shouldn’t be adjusted, wedged open, or fitted with unapproved components for convenience.
Flag every known or suspected fire-rated door. Confirm that it closes and latches, then refer problems or proposed additions to qualified personnel. NFPA 80 covers the inspection, testing, and maintenance of fire doors and other opening protectives, although adopted editions and local requirements vary.
The practical rule is simple: finger protection must work with the fire door’s required function, not against it.
Give each door a simple risk score
Once the walkthrough is complete, score each door from zero to three across five areas:
- Traffic: From occasional student use to intense crowding during several daily transitions.
- Closing force: From light, controlled movement to a heavy door that slams or snaps shut.
- Pinch-point exposure: From no student access to a wide, reachable hinge gap on both sides.
- User vulnerability: From staff-only use to frequent use by younger or higher-support students.
- Incident history: From no known concerns to repeated near misses, complaints, or previous injuries.
A high total does not diagnose the fault or prescribe a product. It tells the school where to act first. Prioritize any door with a previous injury, visible damage, uncontrolled movement, or severe exposed pinch point immediately.
Fingersafe USA’s school door safety checklist offers a useful model for prioritizing doors rather than trying to repair an entire campus at once.
Turn findings into named actions
An audit that ends with a spreadsheet full of red boxes hasn’t made the school safer yet. Every identified issue needs an owner, action, and deadline.
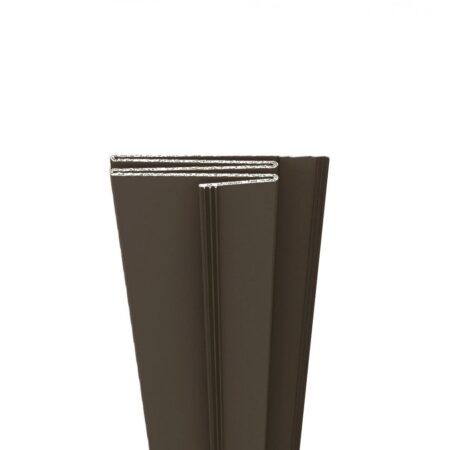
Actions might include installing commercial hinge-side protection, adjusting a closer, repairing a latch, replacing damaged hardware, changing traffic flow, or requesting a specialist fire-door assessment. For each item, record who has responsibility, the target date, and what temporary precaution is required in the meantime.
Where hinge protection is appropriate, the Fingersafe commercial door safety system includes push-side and pull-side options.
Afterward, retest the door through its full range. Confirm it opens, closes and latches, the gap remains covered and no new obstruction has appeared. Add photographs, dates and inspection records to the file.
Know when to repeat the audit
A school door audit shouldn’t be a one-time exercise. Repeat it at least as part of the school’s regular safety review and whenever the way a building is used changes.
Repeat it after renovations, new security hardware, classroom moves, altered traffic routes, near misses, or an injury. Staff also need a quick way to report doors that begin slamming, sticking, or showing damage.
Fingersafe USA’s guide to school door safety and liability explains why inspection records, maintenance logs, and near-miss reporting help show a consistent response to foreseeable risks.
Find the warning before the injury
Most high-risk doors give warnings. They slam every morning. Children gather beside the hinge. Staff complain that the latch sticks. A student pulls a hand away just in time. These signals are easily absorbed into the background of a busy day.
A good audit brings them back into focus. It identifies where exposure, force, traffic, and vulnerability overlap, then turns those observations into practical action.
Schools can’t control every movement in a crowded hallway. They can control whether a known hinge gap remains exposed, whether a slamming closer is ignored, and whether a near miss disappears without a record. Find the risky doors now, and the next entry in the incident log may never need to be written.